![]()
Interview by Torsten Hoffmann, originally published on 3DContentBlog.com (April 2014)
1. What’s your background in 3D and how did you get started?
 When I was a kid, there was a local cable channel that would occasionally broadcast anaglyph 3D movies. I got to watch films like Revenge of the Creature, Gorilla at Large, The Mask, and Dynasty (the 1976 kung-fu flick) in 3D. At the time, they were the most amazing things I’d ever seen on a television screen.
Years later, after I had brief careers in audio engineering and video production, I wanted to make animated music videos for some songs I’d recorded. I stumbled across the software program Anime Studio Pro, which was able to render things stereoscopically. It sounded interesting, so I looked into what it would take to make something in 3D. I discovered that it was much more economical to make and view things in 3D than it had ever been before, so I jumped in and started learning as much as I could.
2. Tell us more about The Simple Carnival.
The Simple Carnival ( www.simplecarnival.com ) is my musical moniker. I make Beach Boys-influenced pop music and experimental easy listening. There’s also quite a bit of Electric Light Orchestra, Todd Rundgren, and Steely Dan influences in what I do. I play most (or all) of the instruments on The Simple Carnival’s recordings, and have released four CDs since 2005.
It’s impossible to pull off The Simple Carnival’s sound in a live performance unless I hire a full band or play along with pre-recorded tracks. So instead of playing live, I try to find interesting ways to release the recordings that I make in my studio.
A few years ago, I’d written the songs that were intended to go on the next Simple Carnival album. However, once I started learning about 3D, the album took a left turn and became a 40-minute 3D music video movie called Smitten 3D.
I’m still working on Smitten 3D as we speak. When it’s done, it’ll be a 3D blu-ray with eleven animated 3D music videos. Currently, four of the videos for Smitten 3D are done and I’m working on the fifth. The four that are done have been screened at film festivals around the world.
3. The video for “A Geek Like Me” was awarded the Ray Zone Award for Achievement in 3-DIY at the LA3D Movie Festival this past December. Why do you think it was so well-received?
Ray Zone championed the indie spirit. He believed that anyone – regardless of budget – could accomplish good things with 3D if they were creative and resourceful. Ray’s writings and 3-DIY aesthetic are big influences on what I do, so it was an honor to have been recognized in that capacity.

4. I couldn’t agree more. In fact, I started to work with Ray on an indie 3D series before is sudden passing. What a loss for the 3D industry. So how exactly did you produce your video?
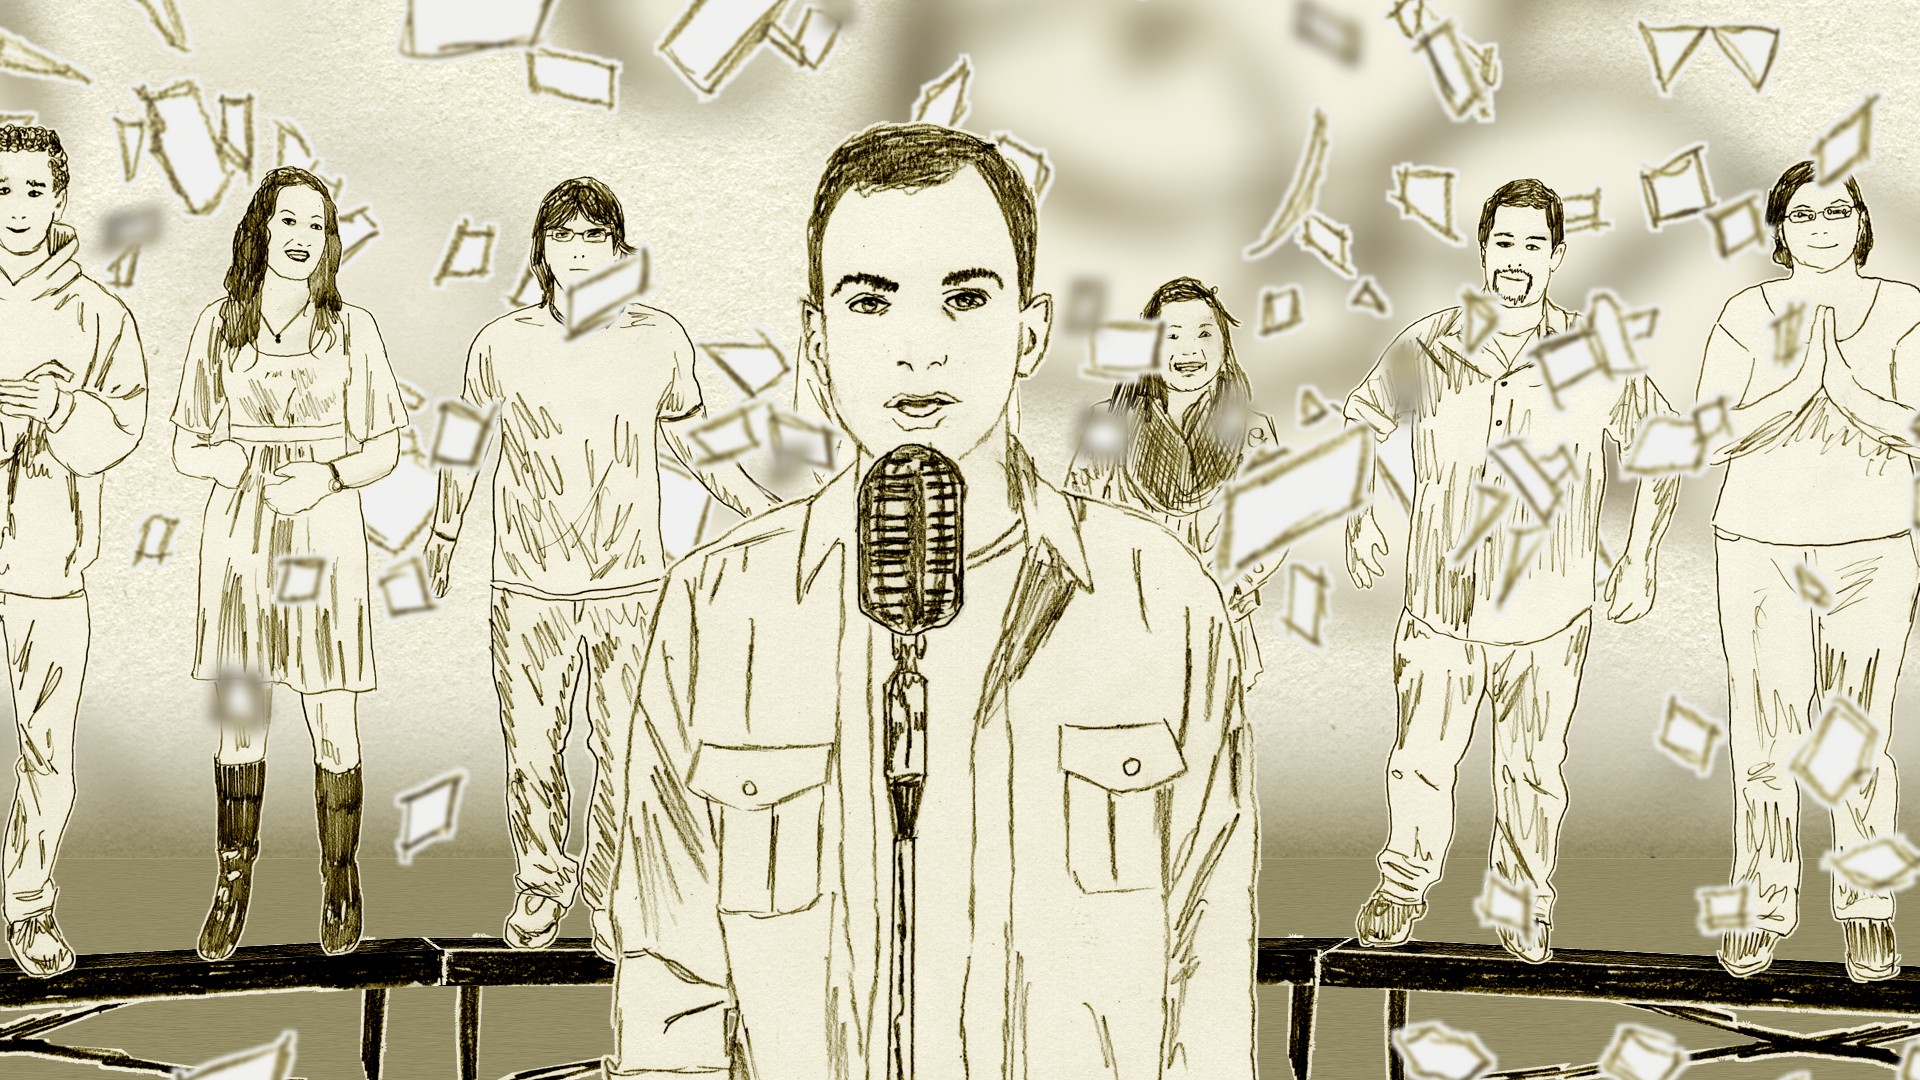
I used a rotoscoping technique that was similar to what was used by Disney in the 1950s as well as by Ralph Bakshi throughout his career. I shot live action footage and then traced it frame-by-frame with pencil on paper. This video demonstrates the basic drawing technique:
http://www.youtube.com/watch?v=fkW8mvdPIGo
I cut a piece of plexiglass to be the same size as my laptop screen. I stuck dowel rods and pieces of Velcro to the plexiglass. The dowel rods held the paper in place, while the Velcro kept the plexiglass from sliding around on the laptop.


I put the laptop on the floor, pushed the screen all the way back, attached the plexiglass contraption, put a piece of paper on the plexiglass, dimmed the lights, and drew.
Each drawing took anywhere between 1 and 30 minutes to draw. There were a total of 4,418 drawings, so if they averaged to be 10 minutes a piece, that means I spent the equivalent of nearly one month straight (with no eating or sleeping) drawing images for “A Geek Like Me.” (I should mention that I deliberately chose to create all of Smitten 3D’s videos at 30 FPS, so that means there were a lot more drawings than there would have been at 24 FPS.)
Once the images were drawn, they needed to be scanned into the computer. Because the automatic feeder on my scanner created unacceptably noisy images, I had to scan in each drawing individually. This was incredibly tedious, but I was too far along on the video to buy another scanner and risk changing the ‘look’ of the remaining shots. So I made the best of it and would simultaneously watch a bad movie and run in place. Yes, I got a lot of exercise while using my scanner for hours on end.
I’m a software developer for my day job. If a piece of software that someone else wrote doesn’t do what I want it to do, I’ll write custom programs to fill in the gaps. So after the images were scanned into the computer, I ran a set of custom programs that automatically altered the brightness, contrast, and color of each image and figured out a transparent mask for each image. Following that, I manually cleaned up each mask in Paint Shop Pro. Then I ran a second set of software programs that combined the mask image with the original image and automatically imported the images into an Anime Studio Pro project file.
After each shot was staged in 3D space in Anime Studio Pro, I ran a custom render farm program, which, among other things, adjusted the convergence and added floating stereo windows. Rendered shots were then imported into Sony Vegas Platinum, where the final video was assembled.
 It took approximately a year to create the “A Geek Like Me” video, from storyboards to final edit.
5. How did you manage to align left and right images?
Anime Studio Pro took care of that to a large degree. Using Anime Studio Pro is the equivalent of shooting in parallel with virtual cameras. While the program allows you to define the distance between the two cameras, it doesn’t offer the ability to adjust the convergence point. So I would render the images at 2100×1080 and my render farm program would adjust the convergence on a frame-by-frame basis. Lastly, the render farm program would crop the result to a 1920×1080 image.
Since I’d made three videos using a similar 3D workflow prior to “Geek,” I knew where to place things in the Anime Studio Pro environment to get a certain effect. So I was able to leave the convergence point at the same place for every shot.
There was one exception, though. I had to script an active depth cut on the shot that ends with the cartoon exclamation bubbles. The bubbles are in negative parallax close to the viewer’s face, but the shot directly following it begins deep into positive parallax. That’s a difficult transition to watch because when a viewer’s eyes are converged on something nearby, the last thing the viewer expects to do is to look at something far away.
So for the last few frames of the cartoon exclamation bubbles, I quickly moved the convergence point so that the viewer’s eyes would be looking at the screen plane. Then, after the cut, when the first point of attention is deep within the screen, the viewer’s eyes can quickly latch onto it. It’s only a few frames, and it’s a subtle effect, but it would be a difficult transition to watch in 3D if that active depth cut wasn’t there.
6. What’s next for the project? Where are you releasing it?
The next step is to finish the remaining seven videos that will be part of Smitten 3D. I’m working on them one at a time instead of attacking them all simultaneously. Since I’m doing virtually everything myself, it’s easier to stay focused when each segment is approached as a separate mini project.
Also, because each video utilizes a different animation technique, there’s a lot of learning and experimentation that goes into each segment. Once I’ve gotten really comfortable with a technique – like rotoscoping with pencil on paper – I basically throw it away and start all over again with a new approach for the next video.
The “A Geek Like Me” video will be part of the Best of 3D Compilation in Germany. After all the videos are done, I might release the entire 40 minute project myself as a 3D blu-ray, much like what I’ve done with The Simple Carnival’s music albums. However, that decision is still a long way off. While I believe that 3D is here to stay, it’s difficult to say what the prominent platforms for 3D distribution will be by the time Smitten 3D is complete. In the meantime, I’m enjoying the adventure of working in 3D and discovering where it leads.

Leave a comment